lördag 23 november 2013

Dreaming of a white christmas.....

Time to get started with the christmas decorations....I found some plastic ornaments
in my stash and gave them a complete makeover!!

Dax att börja med julpysslet!
Jag hittade några plastkulor i mina gömmor och gav dem en rejäl makeover.


And this is how........

I begynnelsen....


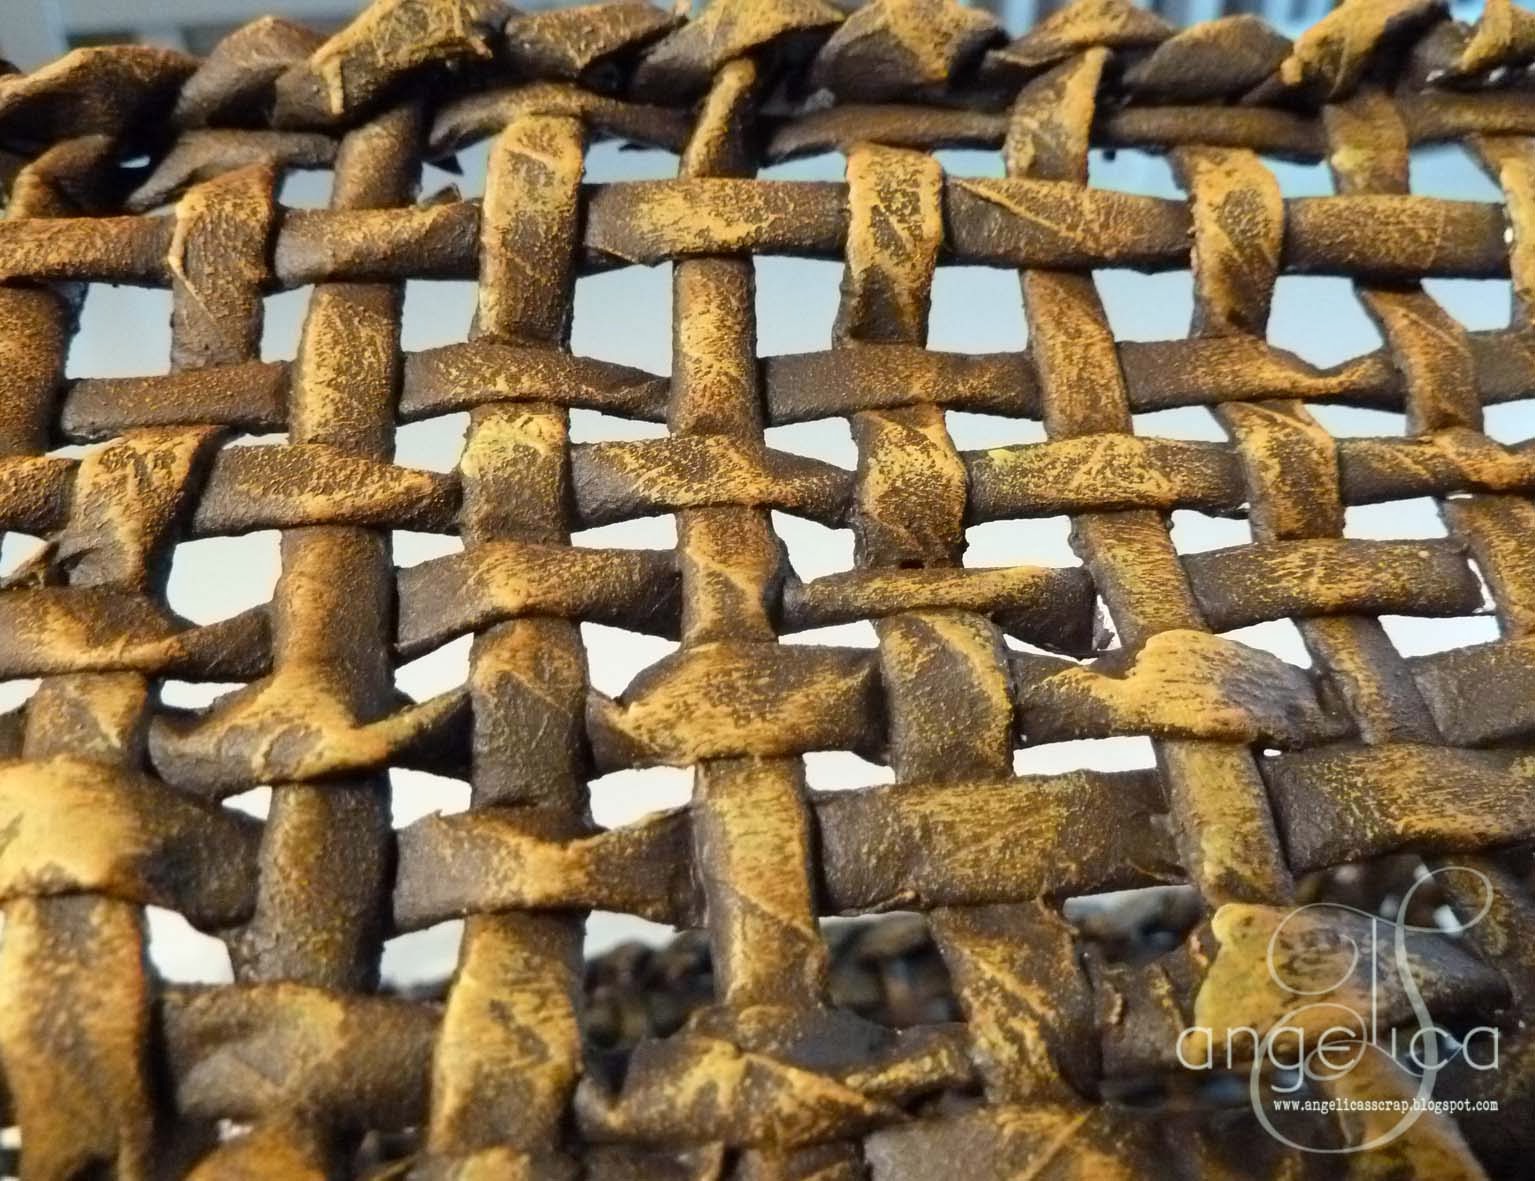
Plastic ornaments, probably from last years sale at the dollar store, some lace
and metal decorations. In addition I've used Gesso, Traditions Carbon Black
and Americana Gloss Enamels Metallics Espresso. 
All products from Decoart.

Några väldigt plastiga kulor, antagligen från fjolårets rea på Dollar Store :) 
Lite spets och några metalldekorationer. Dessutom har jag använt Gesso, 
Traditions Carbon Black, Americana Gloss Enamels Metallics Espresso


I used a sponge to dab on the Gesso to get a bit of structure.

Jag började med att fixa lite struktur...duttade på Gesso med en svamp.


A good foundation for the acrylic paint....

En bra grund för akrylfärgen att fästa på.


I glued the pieces of lace and the metal decorations to the baubles...

Några bitar av spets och metalldekorationer, jag limmar det mesta med limpistolen.


Time to paint, two coats of Decoart Traditions Carbon Black.

Dax att måla över det hela. Minst två lager av Decoart Traditions Carbon Black.


Americana Gloss Enamels Metallics Espresso Gives an amazing brass-like
result when dry brushed over the black paint and really makes
the decorations "pop out".

Americana Gloss Enamels Metallics Espresso ger ett fantastiskt, mässingliknande
resultat när man torrborstar ett tunt lager över den svarta färgen och får verkligen
dekorationerna att synas.


Batch No. 2. 
More cheap plastic ornaments, some die cuts, rhinestones and pearls.
Decoart Texture Glass, Gesso, Decoarts Traditions Titanium White, Americana
Indian Turquoise and Americana dazzling Metallics Glourios Gold.

Sats nr 2. 
Fler billiga plastkulor, några die cuts, strasstenar och pearls.
Decoart Texture Glass, Gesso, Decoarts Traditions Titanium White, Americana
Indian Turqouise och Americana Dazzling Metallics Glourios Gold.


Decoart Texture Glass gives a great texture and will become completely transparent
 when it dries.

Decoart Texture Glass är ett härligt strukturmedel som blir helt genomskinligt när 
det torkat.


I use very expensive tools LOL an ordinary comb is a great tool that gives
a cool effect.

Här har jag verkligen kostat på mej dyrbara verktyg :) en vanlig kam ger en kul
effekt!


A few pearls...

Några halvpärlor här och där....


The big ornament has been primed with gesso and then I glued some large 
rhinestones, plastic angels and some diecuts (cut with a die from Cheery Lynn) 
I like to glue heavier decorations with my glue gun but for the paper 
decorations decoupage glue works great.

Den stora kulan har fått en grund av Gesso och sedan har jag limmat dit några
stora strass stenar, några änglar från en utrangerad ljus manschett och några diecuts
(utskurna med en die från Cheery Lynn designs) Större dekorationer funkar bäst att 
limma med limpistol men till pappersdekorationer är decoupage lim perfekt.


Two coats of Decoart Traditions Titanium White...

Två lager Decoart Traditions Titanium White...


A few color washes of Americana Indian Turquoise and Dazzling Metallics Glorious 
Gold. Finally I rubbed plenty of  Metallic Lustre Silver Spark on the raised areas.

Några tunna lager av Americana Indian Turquoise och Dazzling Metallics Glourios Gold.
Till sist gnuggade jag rejält med Metallic Lusture Silver på de upphöjda ytorna men då 
var visst inte kameran med...


Maybe this could be a nice Christmas present for someone?!
I used old plastic necklaces and chains as hangers for the baubles, 

As a very wise women once told me: "If you don't like something...CHANGE IT!!!
and thats the great thing about paint, I allows you to change the aperence 
of almost anything.


Det här kanske kan bli en fin julklapp till någon ?!
Dessutom fick jag användning för en hel del gamla halsband och kedjor, passade ju 
jättebra att hänga upp kulorna med. 

Som en mycket klok kvinnor en gång sa till mig: "Om du inte gillar något. ÄNDRA DET!
det är ju det som är det fina med färg, den kan förändra det mesta.


tisdag 19 november 2013

Recycling.....

Har man inte något att göra så skaffar man sej.....
När jag tänker efter så har jag nog gått förbi tusentals korgar på loppis utan att "korgbehovet"
har slagit till...men helt plötsligt så ser man en kul idé på nätet om att göra korgar av 
reklam blad och gamla tidningar, och vips så BEHÖVER jag tydligen just korgar!?

 I think I've probably walked past thousands of baskets at flea markets without experience
a basket craving ... but all of a sudden I see a lot of fun ideas online how to make baskets of
flyers and old newspapers, and immediately I apparently NEED baskets!?


Två korgar har det blivit hittils...

I've made two so far...


Den största är ungefär 30x20x15 cm. Det gick åt nästan två nummer av tidningen
 Svensk Jakt vid tillverkningen (Jag tyckte att tidningen äntligen kommit till användning,
maken var inte riktigt av samma mening)

The largest is approximately 30X20X15 cm. I used  almost two issues of the magazine
  "Swedish Hunting" to make it, finally a good way to use that magazine!
(my husband was not quite of the same opinion)


Har inte klurat ut vad den kommer att innehålla än...men kanske kan den passa
bra att överlämna med en julklapp i till någon...

I have not figured out what it will contain yet ... but maybe  a Christmas gift for 
someone ...


JOY stämplat med Archival Jet Black på en träbit. Svärtade kanterna med samma 
stämpeldyna och täckte allt med Decoart Triple Thick. 

JOY stamped with Archival Jet Black on a piece of wood. Blackened the edges with the 
same stamp pad, and covered everything with DecoArt Triple Thick.


Jag kommer antagligen inte göra succé som korgflätare, Det var lite lurigt att 
"få ihop det" 

I will probably not make a great carrier as a basket weaver, It was a bit tricky to
"get it all together" LOL


Ett band från Reprint med ett jute snöre över runt hela korgen.

A ribbon from Reprint and a jute string

Korg No. 2 var lite lättare, här gick det åt ett nummer av Aftonbladet Klick men jag fuskade 
lite grand och gjorde botten av wellpapp. 

Basket No.2 was a little bit easier, I cheated and made a base of cardboard instead of 
weaving it.


Stjärnan är gjord av cardstock täckt med silvertape. Embossad i en embossingfolder från 
Sizzix och infärgad med akrylfärg.

The star is made of cardstock covered with aluminium tape. Embossed in a embossingfolder 
from Sizzix and colored with acrylic paint.


Och som vanligt några bilder från "tillverkningen" vill man se en riktig beskrivning av
hur man gör så kolla in dom riktiga proffsen tex. Mariettas blog eller Ellys variant HÄR 

 Some pictures from the "production" if you want a real tutorial for paper basket weawing
check out  Marietta's blog or Ellys blog


Några tidningar och en låda som mall....

Some magazines, glue and i used a plastic box as a template. 


Jag delade sidorna till remsor (10,5x29 cm) och rullade ihop dom till smala "pinnar"

I divided the pages into strips (10,5 x29 cm) and rolled them into thin "sticks"


En liten klick lim på slutet för att hålla i hop rullen.

A small dab of glue on the end to hold the roll together.


Det är bara att skarva ihop rullarna genom att trä in en rulle i nästa så man får
dem så långa man vill ha dem.

By threading one roll into the next one you get the length you need


Och sedan började själva flätandet....

And then for the actual weaving...


Eftersom jag inte hade en susning om vad jag gett mej in på så använde jag en plastlåda 
som mall.....

Since I did not have a clue what I was doing, I used a plastic box as a template .....


Efter många svordomar och mindre nervsammanbrott så såg korgen ut så här.

After much profanities and a small nervous breakdown.....


Några lager med Akrylfärg, jag har använt Decoart Traditions Burnt Umber, lite
pilligt att komma åt överallt.

A few coats of Decoart Traditions Burnt Umber


Torrborstade först hela korgen med Decoart Traditions Perinone Orange...
här kommer stora penseln fram, det gäller att effektivisera..

First I dry brushed the whole basket with DecoArt Traditions Perinone Orange ...


...och sedan med Hansa Yellow Light. och "vips" så blev det en rottingkorg.
Kanske enklare att köpa på loppis?!

... and finally dry brushed it with Hansa Yellow Light. and "hey presto" it became a 
wicker basket. Maybe it's easier to buy one at the flea market?!


söndag 10 november 2013

In the eye of the beholder....

My new Art Journal!
Finally I gathered all my backgrounds I had laying around the house and made 
an Art Journal of the pile of papers.

Min nya Art Journal, äntligen tog jag tag i saken och samlade ihop alla färdiga bakgrunder
på lösa papper jag hade liggandes och band ihop hela högen till en bok.


Two pieces of chipboard (8 x 10") for the cover. The wonderful butterfly stamp is from 
Unity Stamps (designed by Donna Downey) 

Omslaget av chipboard (20x25 cm). Den fantastiska fjärilsstämpeln kommer från 
Unity Stamps och är designad av Donna Downey.


Letters cut from chipboard with Sizzix/Tim Holts die, Wordplay.

Bokstäverna utskurna med en die från Sizzix/Tim Holtz, Wordplay.


Perfect crackle on the letters....

En krackelerad yta på bokstäverna.....


A better view of the butterflies on the back of the book...

Fjärilarna syns betydligt bättre på baksidan där inga bokstäver skymmer sikten.


Metallic Lustre Gold Rush on the corners....

Metallic Lustre Gold Rush på hörnen.....


More cracked paint on the inside...

Mer krackelerad färg på insidan....


And now some "step by step" pictures:


For my Journal cover I used:

Acrylic Gesso
Decoart Traditions Aquamarine
Decoart Traditions Warm White
Perfect Crackle
Americana Weathered Wood 
Americana Gel Stain Oak
Metallic Lustre Gold Rush
and....
Clear UTEE
VersaMark stamp pad and a stamp. Babywipes and of course chipboard 
covers, chipboard letters and corners.


I started by priming the chipboard covers with a coat of Gesso before applying
two coats of Traditions Aquamarine. Then i stamped my butterfly stamp with VersaMark.

Ett lager Gesso som grund för att få rejält fäste för färgen och sedan två lager Traditions Aquamarine akrylfärg. Stämplade fjärilar lite här och där med VersaMark dynan.


Covered the stamped butterflies with UTEE...

Hällde över UTEE.....


..and heated with my heat gun.

.....och värmde med embossingfönen.


A lot of stamping and heating......

Mycket stämplande och värmande.....


I painted the letters and corners before I glued them to the front cover.

Jag målade hörnen och bokstäverna innan jag limmade fast dom.


 I diluted some Decoart Traditions Warm white with water 50/50.

Spädde Taditions Warm White med vatten, ungefär 50/50....


and painted the whole thing.

....och målade över hela härligheten.


When the paint is dry to the touch, grab a babywipe and wipe of the paint from the 
stamped image, there is no hurry but if you let the paint cure it gets really hard to get
it off.

När färgen torkat så pass att den går att ta på (ca 10 min) är det dax att ta fram en 
babywipe. Torka bort färgen på dom stämplade fjärilarna, ingen jättepanik men om 
färgen får härda ordentligt blir den riktigt svår att få bort.


I wiped down quite a lot of the white paint....

Jag torkade bort en hel del färg för att få fram lite av backgrundsfärgen.


Now I applied the Gel Stain with a brush and wiped back with a cloth, don't
use a babywipe for this one, the babywipe will take all the Gel Stain away and you 
will have to start all over.

För att få ett gammalt och lite slitet utseende målade jag över allt med Americana Gel 
Stain, Oak och torkade bort överskottet med en mjuk trasa, här funkar det inte med en 
babywipe, den tar bort all Gel Stain och då är det bara att börja om.


Perfect Crackle on the letters and then some Gel Stain on top.

Lite Perfect Crackle på bokstäverna och ovanpå den lite mer Gel Stain.


The inside of the cover got an other kind of crackle treatment, Weathered Wood.
One coat of Wathered Wood and a top coat of Traditions Warm White.
You have to work fast when you paint over the Crackle Medium, the paint begins to 
crack right away.

På insidan blev det en annan typ av krackelerad färg. Först ett lager av Americana 
Weathered Wood och sedan ett lager Traditions Warm White akrylfärg.
Det gäller att vara snabb när man målar akrylfärgen den börjar spricka direkt.


And of course more Gel Stains...

Och så klart Gel Stain på insidan också.

----------------------------------------------------------------------------

Here's a "sneak peak" on the contents of my new Art Journal ... a lot of backgrounds
created with DecoArt Traditions acrylics, stencils and my Gelli Plate.

Här kommer en liten tjuvkik på några blad i min nya AJ...en massa bakgrunder
skapade med Decoart Traditions akrylfärger, stenciler och min Gelli Plate.